Growing Daylilies Hemerocallis in Pots and Containers
An ultimate guide
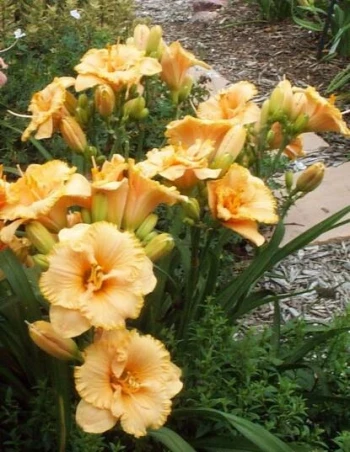
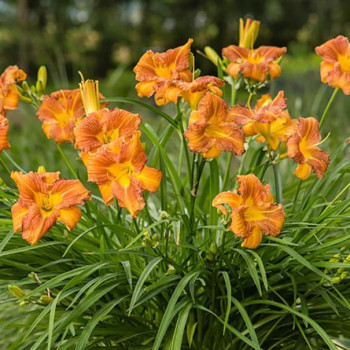
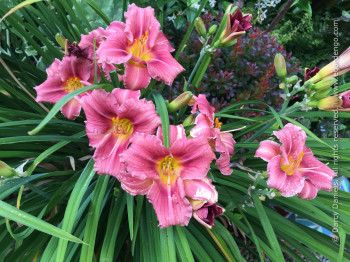
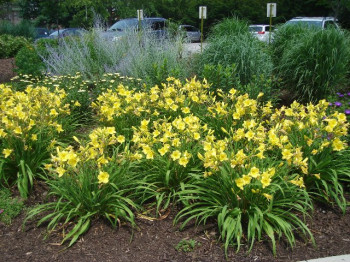
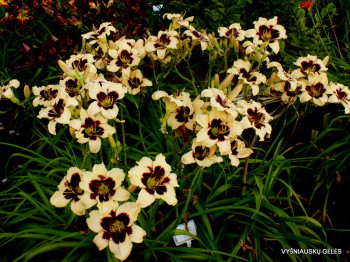
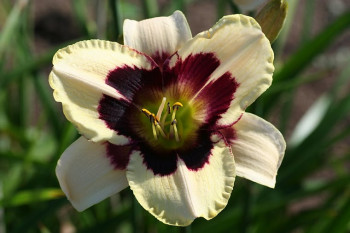
Probably the most ideal of all perennials for container growing is the Daylily. With careful selection, a wide array of colours, flower shape and size can be enjoyed in bloom from June right through into September. They can quite simply transform any patio or seating area.
Although just as easy to grow in pots as they are in the open ground, some useful guidelines will help you get the very best from them.
Container size and type
Although the small and miniature varieties, with their more compact habit and especially suited, even the large and giant flowered varieties are happy contained.
Dividing these two types up I would recommend a 4 or 5 litre capacity container for the smaller types and a 6 litre capacity container for the larger varieties. This can be their home indefinitely and is more than adequate for good bloom production. Resist the urge to over-pot because the planting medium can stagnate and become airless if it is not used by the roots.
Capacity is more important than dimensions and is an easier gauge, but do avoid very shallow containers. Look for a container of not less than around 15” depth. Taller urn-shaped containers can also look very special, especially planted with the taller growing varieties and the spider types.
There is a wide variety of container types these days, and much comes down to personal preference. Ceramic and clay are especially attractive but more expensive; a simple plastic container will also do just fine and is more cost-effective, especially if you want to plant several and make a group or arrangement.
The planting medium
Daylilies are pretty undemanding when it comes to soil, and the same can be said when containerised. The best is the capacity to hold moisture, the better – it will save a lot of time during the Summer when watering is a key aspect of care. For this reason, following experiments on the Nursery Coir and its alternatives don’t really cut the mustard, but I guess they can be used with some water-saving capsules, which will help. General peat-based potting compost works very well, but best of all for me has been using a loam-based compost such as John Innes no:3 or similar. This has good heat and moisture-retentive properties.
Siting
Full sun is perfect, but they can thrive with some shade, as long as they get 2-3 hours of sun or dappled sun a day during the Summer, then they will still flower well. If it is an open spot prone to wind, stick to the shorter growing varieties rather than the tall.
Setting the plants
The plants will arrive in 11cm pots from my Nursery and will be well rooted, so you can plant them straight into the container size mentioned. One plant will adequately fill the container in time – say 2-3 seasons. But if you want a quicker effect, you can plant 3 plants in the same container. I always think it is best to keep to the same variety per container, as it looks better than mixing them.
Fill the container with the planting medium of choice and firm it down gently but not too much at this point. Fill to within about 1” of the top of the container. This allows room when watering, so the water doesn’t run over the side of the container. Remove the plant from the pot it came in and excavate a hole in the new container with hands just big enough to take it. The base of the plant should sit just level with the surrounding compost when planting has been completed. Now firm the compost down properly and add a bit more if necessary.
Water in very well with a rose, so it doesn’t disturb the compost too much. Continue to water daily for the first week to ten days so the plant gets nicely established.
Planting can take place at any time of year, but early March through to October is the optimum period. If you want to plant over winter, that’s fine, you can always place them in a cold greenhouse or similar until the Springtime, although during more benign winters or warmer localities, even this may not be necessary, simply place them in a sheltered spot outdoors.
Aftercare
Watering is the key aspect, as with any plant that lives its life in a container. Much depends on the weather, of course, and the environment – if the containers receive protection from rain, then more watering will be required. Similarly, if it is a very hot position, more attention to hydration will be needed, but in cooler aspects, less.
As a rule of thumb, try to water daily from May to September unless it has rained a lot and remember that even if it has rained, established plants in pots with a lot of foliage may not receive much water because the foliage will prevent it from reaching the soil. Watering at the base of the plant is most effective directly to the soil rather than watering overhead. This latter is also important when the plants are in flower, as heavy rain may spoil them.
Intermittent water will be required in Spring from March to May, but again depends on the weather. Twice a week should be adequate again unless it is during a rainy period. No watering should be necessary during Autumn or Winter unless they are kept under cover, in which case just keep an eye on them, and if the soil appears dry, then water.
Frost protection is not necessary for established plants.
There will be sufficient nutrients added already to proprietary potting mixes to last 3-6 months, depending on the brand. After this period, to keep the plants growing lustily, feeding is greatly beneficial.
I like to use Osmocote tablets as these are easily applied slow release granular fertilisers that will last through a whole season. Other popular brands like Miracle-Gro are also satisfactory. A liquid feed of seaweed extract can enhance foliage colour, but it does have to be applied every 2-3 weeks during the growing period, so it is more time-consuming.
There is no need to feed during Autumn and winter. Feeding should start as the plants begin active growth in late March and April.
Dividing Plants
Growth rates do vary between varieties, but after 3-4 years, you should have quite a potful. At this point is a good idea to take them out and divide them. Otherwise, bloom capacity can decrease. Tease and shake as much of the compost away from the roots as is possible. Some varieties will pull apart into individual plants quite easily; others have to be cut into sections with a sharp knife, but re-establish quite easily. Replant in fresh compost as described earlier in this article. Dividing can take place at any time of year, but early Spring or early Autumn are the two best times.
Deadheading is very important whilst the Daylily plants are in flower and should be done on a daily basis. I find this quite a pleasurable task and it is one of my favourite summer routines! Simply snap the previous day’s flowers off, thus allowing new buds to open. Faded flowers will spoil the general effect of the display if left.
Bugs and diseases
Troubled little in the UK; slugs are an occasional problem in Spring when they can be partial to new shoots, so be prepared to offer protection via the various deterrents that are available, if necessary.
Foliar diseases are best dealt with by simply cutting off the foliage near the base. New growth quickly emerges in as little as 10-14 days and will normally come ‘clean’, especially with a good foliar feed applied at this time.
My favourite varieties for planting in containers
Are Moonlight Masquerade and Piano Man because amongst the large flowered varieties, these are the most reliable re-blooming ones, which makes it off great value in containers, plus it’s impossibly eye-catching with its bold patterning. Happy Returns is such a tidy grower and although modest has a long season, so it has to deserve recommendation.
Everydaylily Bronze is aptly named because it blooms off and on all summer, and I love its warm, earthy tones.
Spacecoast Tiny Perfection is a newer small-flowered variety and such an exemplary, neat, well-foliated plant with very well-branched stems of rather circular pastel flowers, it really is first class.
Lastly, Rosy Returns is a perfect true shade of blooming over a very long period, just over the compact foliage clump, ideal in habit for a container and oh-so-pretty.